E-commerce, the process of buying and or selling online, in the age we now live in e-commerce has become quite an integral part of generating revenue for nearly any business, it allows you to sell to customers you ordinarily might never meet, however, there’s a bit of a catch; which is called set up.
Setting up or rather creating an e-commerce store is not an easy thing to do or rather was not an easy thing to do, but through the use of things like Shopify, Ecwid, or Webflow it’s become easier for people to create e-commerce stores.
Now you might ask the question “Why should I use webflow e-commerce?”.
Short answer, customization. Unlike other platforms that offer limited flexibility, Webflow allows you to build a store that perfectly fits your brand.
Step-by-Step Guide Setting Up Your Webflow eCommerce Store

Step 1: Enable E-commerce On Your Website
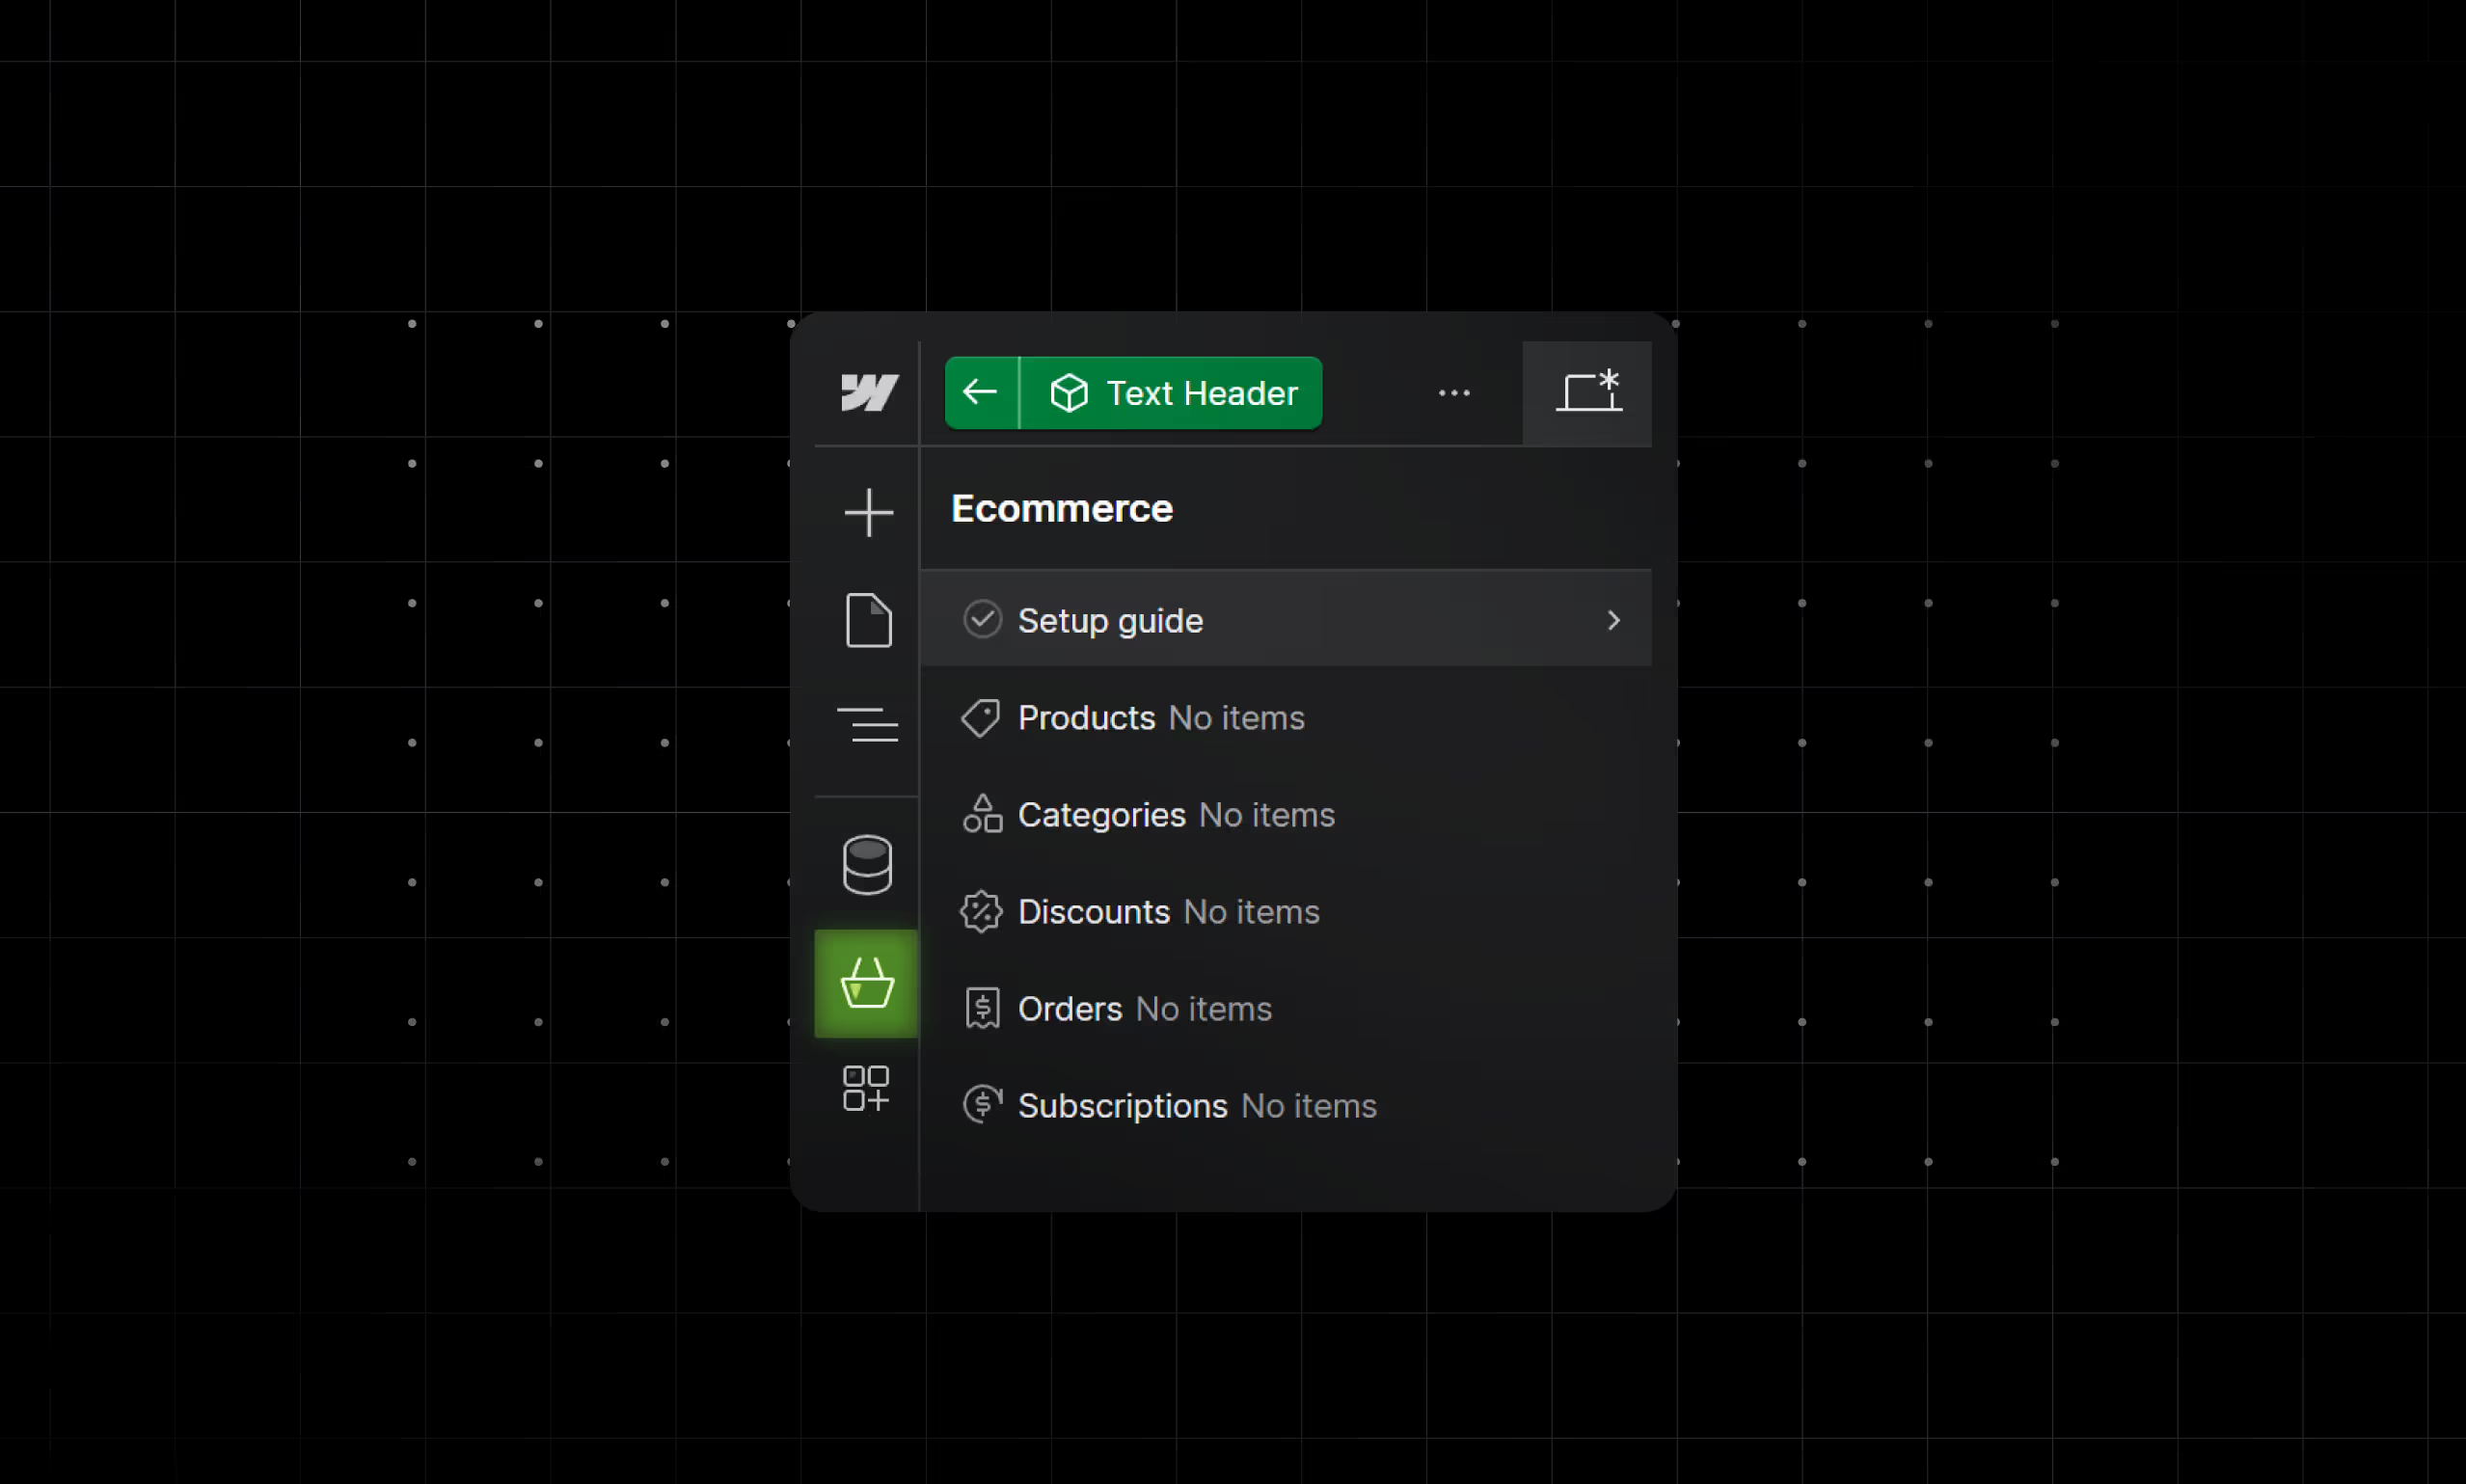
- On the left side of the Webflow Designer you will see an icon that looks like a shopping cart, click it. This is the first step in building a Webflow eCommerce store.
Step 2: Customize Your Store Design
- Now that e-commerce has been set up on your site, it’s time to customize your Webflow store design. Take some time to customize your site to make it look how you want.
- Need inspiration? Take a look at successful Webflow eCommerce examples.
Step 3: Optimize Your Store for SEO
- An integral part of your website, is SEO. Think about it this way, let's say you made an amazing e-commerce store and you sold even more amazing products, but, no one ever saw either; that would not be so nice.
Proper SEO can help to prevent that, now if you know how to go about doing it yourself awesome, but if you don’t then don’t sweat you can contact us for help on that.

Step 4: Set up Google Analytics
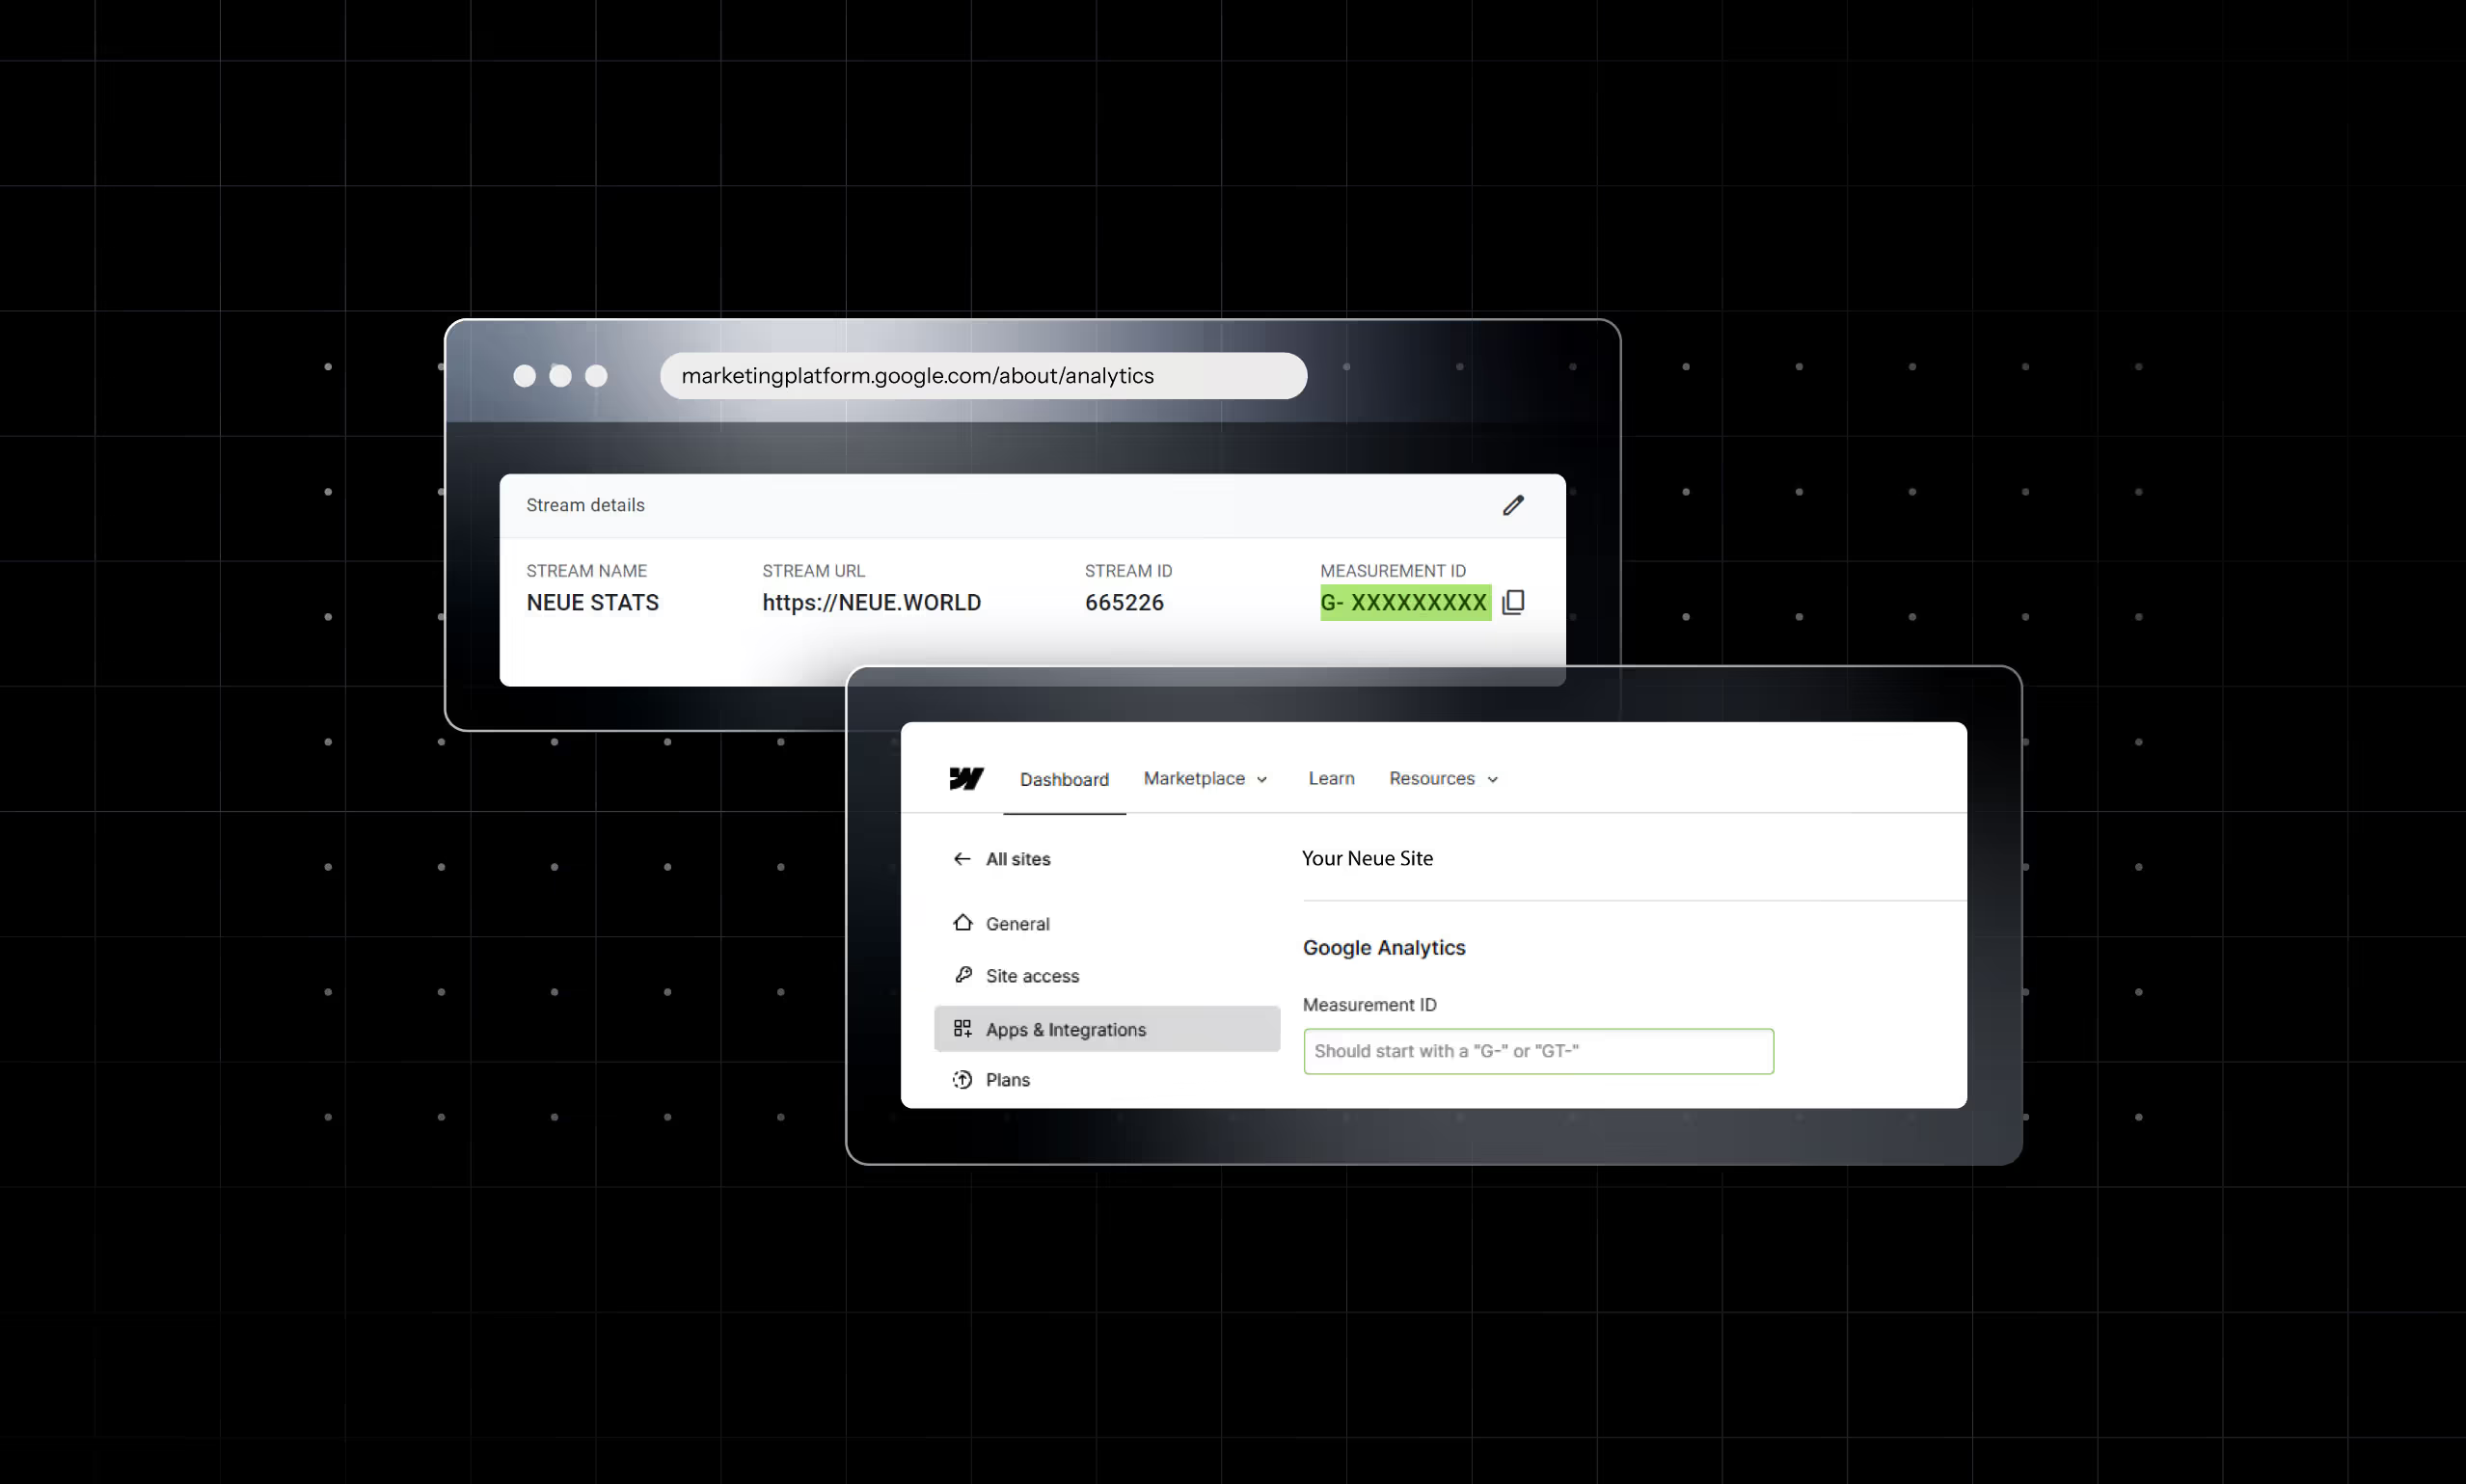
- Knowing what’s happening on your site is important, it helps you plan better, market better, and also helps in saving and gaining revenue, it can also in some cases be used to manage and reduce loss.
There are various tools that can help you out with knowing what’s happening on your website but the tool that we recommend is Google Analytics.
Step 5: Perform SEO Audits
- Click the square at the bottom right of the Webflow Designer, there you’ll see an audit panel that will show you certain things that need to be fixed on each page of your website. Things like missing alt tags, improper headings order, and empty link blocks can be bad for your website's SEO, so be sure to check that they’re all in order. You can do this through the use of the audits panel
Step 6: Publish Your E-commerce Site
- Click the publish button at the top right of the Webflow Designer and just like that your site is live.
Step 7: Ongoing Maintenance
- Now that your site is live you’re going to need to maintain it and keep it active. Remember there are a lot of other websites out there competing for your next potential customer so you’re going to have to be on the top of your game, feel free to contact us if you’d like some advice on how to do that.
Conclusion
Creating and managing an e-commerce store in Webflow is a lot of work, don’t think that you’ll just make it and leave it be and then boom, passive revenue.
You need to be able to commit to it and even be patient to learn and help make it grow, one of the ways in which you can aid in your e-commerce site's growth and ultimately your business as a whole is through the use of analytics, Google Analytics to be precise.


