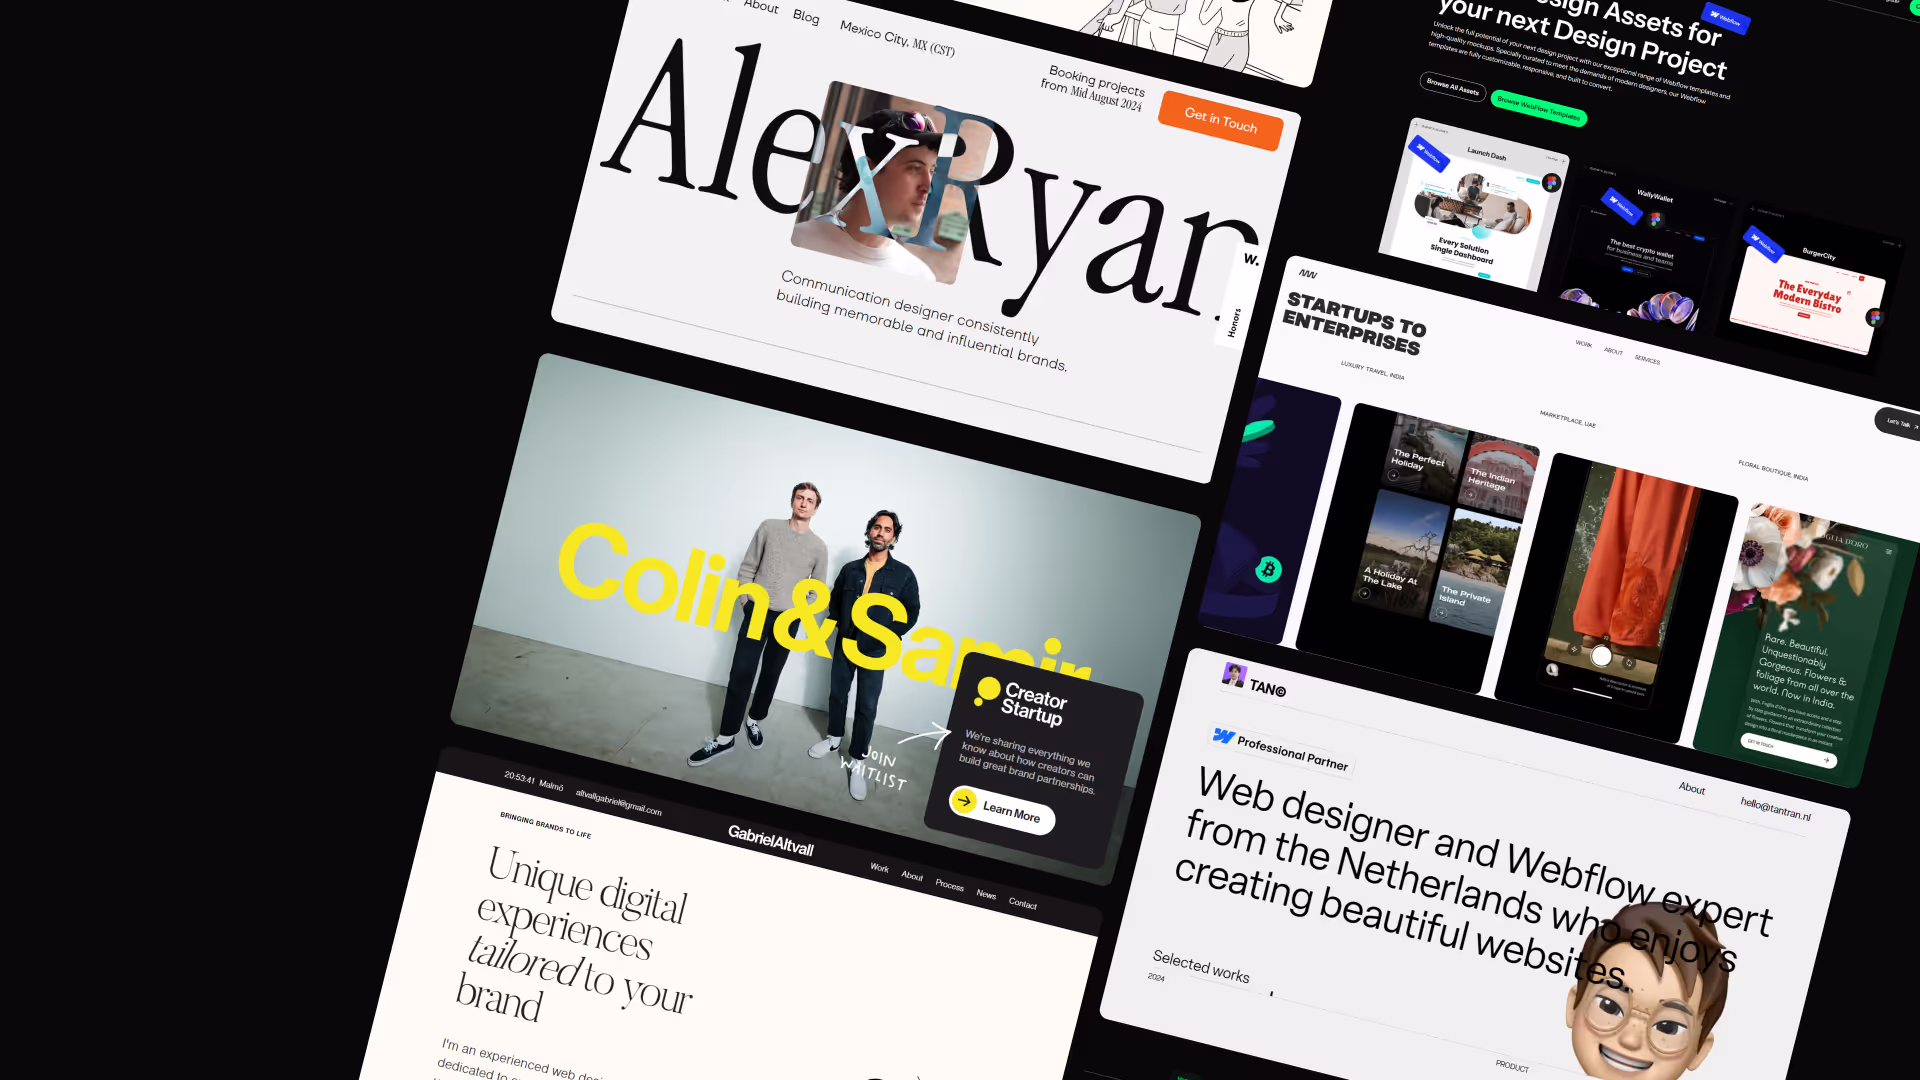
Creating stunning websites is very important to a designer, and Webflow is an incredible tool that empowers designers and developers to bring their visions to life.
Webflow is constantly revolutionizing the way we design websites. But with so much power at your fingertips, where do you even begin?
This guide provides actionable tips for creating visually captivating and user-friendly websites with Webflow, perfect for beginners and experienced designers alike.
What is Webflow?
Webflow is a visual website builder that combines the design flexibility of a graphical interface with coding capabilities. You can arrange elements like text, images, buttons, and more on your webpage by clicking and dragging them into place.
Webflow also offers features like a flexible content management system (CMS) for blogs, portfolios, and e-commerce stores and the ability to export your site's code if needed.
If you don't want to use stock features, you can integrate custom scripts, build hover microanimations, or even create page transitions.
With Webflow, you can design and launch professional-looking websites quickly and easily, even if you're not a coding expert.
If you are just getting started, we recommend learning the basics from Webflow University. If you are willing to get your hands dirty, pick up a template from Webflow Template Shop and start making your updates on it.
Planning Your Website
Defining Your Purpose and Audience
Before starting any web design Webflow process, it’s essential to define the purpose of your website and understand your target audience. This foundational step will guide your design decisions and ensure your website effectively meets its goals.
The first step in planning your Webflow website building is identifying its primary goal. Are you building an e-commerce site to sell products, a portfolio to showcase your work, a blog to share your thoughts, or something else entirely?
You should clearly define the purpose of your website, this will help you make informed decisions throughout the design and development process.
Also, you need to understand your target audience.
Who are they?
What are their needs and preferences?
How can your website serve them effectively?
Conducting thorough audience research will provide valuable insights into their behaviors and expectations, allowing you to tailor your website to meet their needs.
One important thing you can do when planning your website is to know the kind of color that fits your audience. This is because colors trigger specific emotions.
For example, blue conveys trust and security, while red is associated with excitement and urgency.
So, aligning your color scheme with the emotions you want to evoke in your audience can significantly impact their perception of your brand.
Certain colors can subtly influence user behavior. Warm colors like orange and yellow can encourage clicks on call-to-action buttons, while cooler colors like blue might promote a sense of calm and well-being.
Once you clearly understand your website’s purpose and audience, you can begin planning the site structure and content. Outline the main sections of your website, such as the homepage, about page, product pages, blog, and contact page.
Plan the content for each section, ensuring it aligns with your website’s goals and resonates with your audience.

Selecting a Template or Starting from Scratch
When starting a new project in Webflow, you face an important decision: should you use a template or start from scratch? Each approach has its advantages and is suitable for different types of projects and designers with varying levels of experience.
One of the primary benefits of using Webflow templates is the significant time savings they offer. Templates come pre-designed with essential elements and structures, allowing you to bypass the initial design phase and move straight into customization.
Also, templates often come with pre-built interactions and animations, adding a layer of sophistication to your site without additional effort. This can be especially useful for projects that require a polished, professional look without the need for extensive design work.
Learn More About How to Use a Webflow Templates?
When and Why to Start from Scratch
While templates offer numerous benefits, there are scenarios where starting from scratch is the preferred approach.
For custom or unique projects that require specific design elements or functionalities not found in templates, building from scratch provides complete creative control.
This method is ideal for designers with a clear vision of what they want to achieve and possess the skills to execute it.
Starting from scratch allows you to create a truly bespoke design, tailored precisely to your brand and user experience goals.
It also offers the flexibility to innovate and experiment with new design trends and techniques that might not be available in pre-built templates.
We can also say that building from scratch will ensure that your website is unique and stands out from others that may use popular templates, giving you a competitive edge.
This approach can be particularly valuable for branding purposes, ensuring that every aspect of your site reflects your brand identity and message.
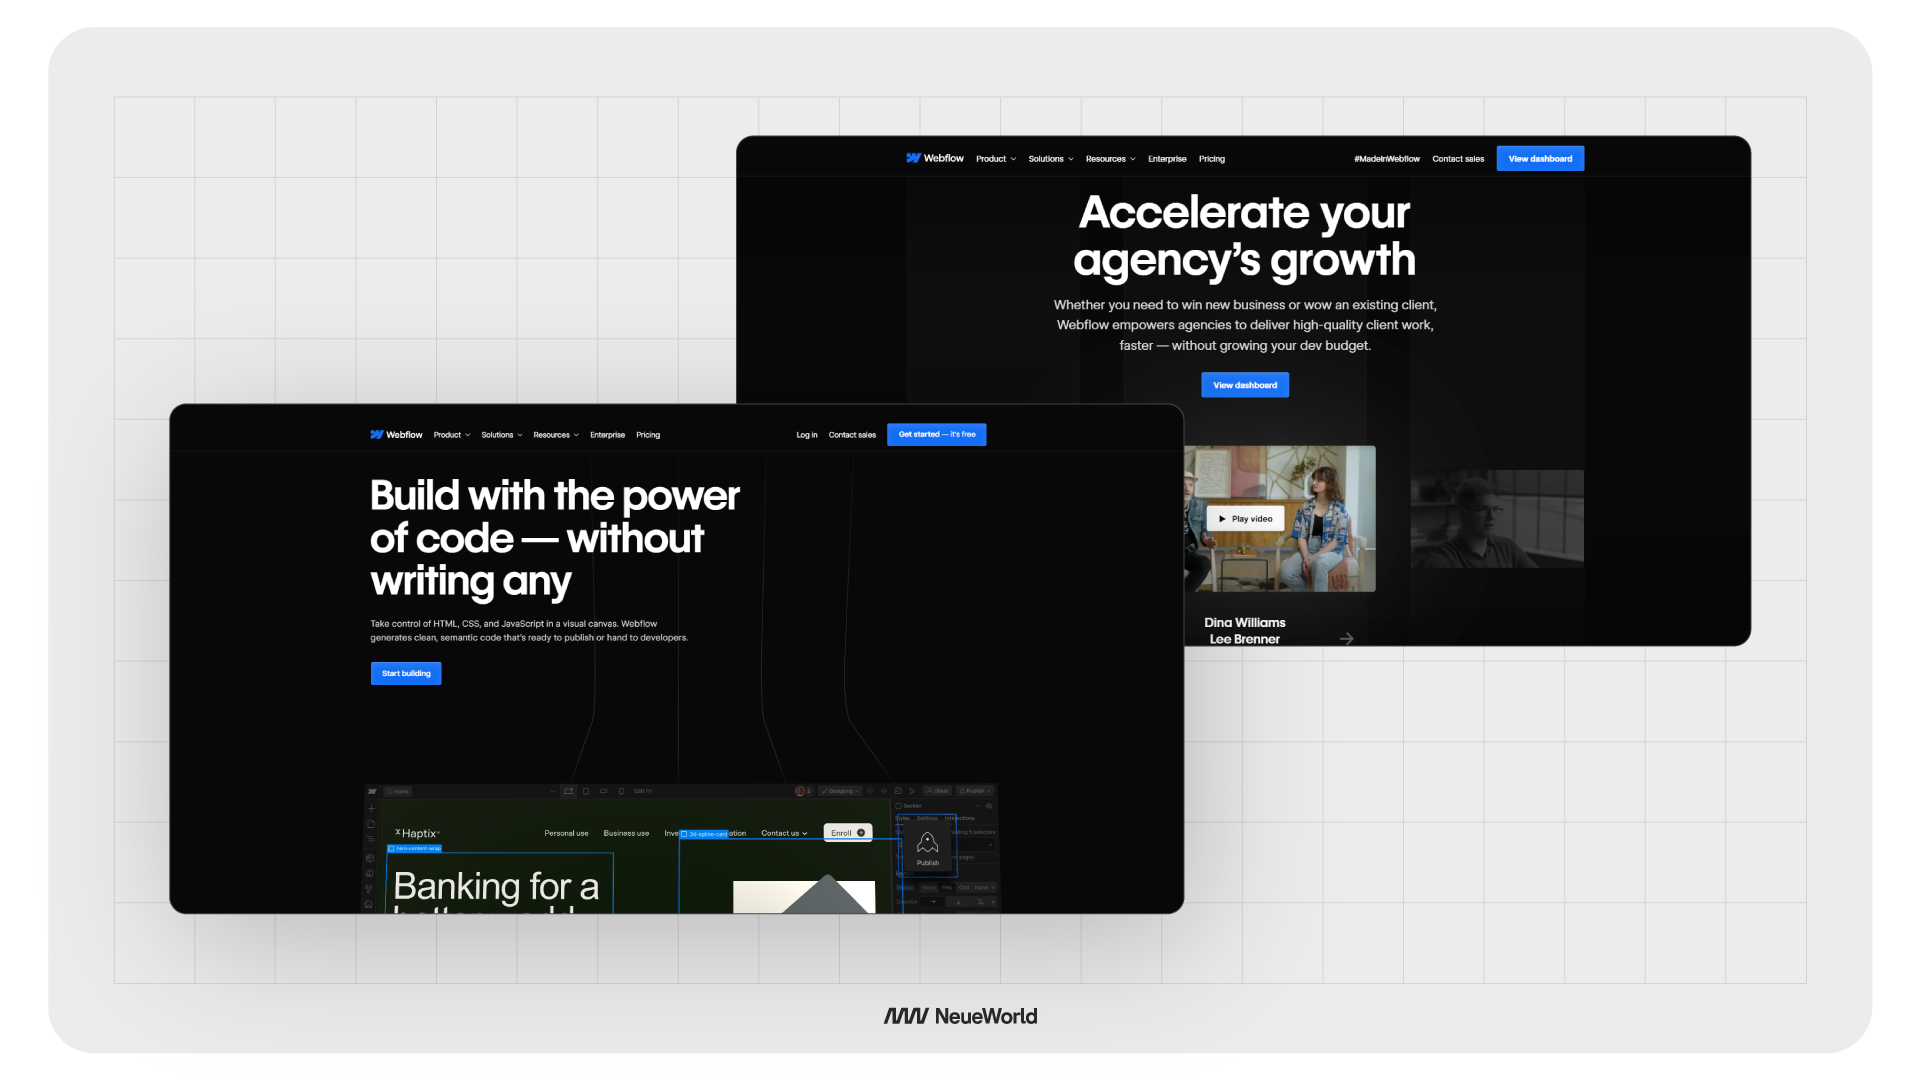
Mastering the Webflow Interface
Webflow’s Designer interface is the heart of your Webflow web experience, providing a platform where you can visually build and style your site without writing a single line of code. To master this interface, it's essential to familiarize yourself with its layout, panels, and tools.
The Webflow Designer interface is divided into several key areas. On the left side, you have the Navigator panel, which shows the hierarchical structure of your site, allowing you to easily select and manipulate elements.
Next to it, the Add panel provides access to a variety of elements like sections, divs, text blocks, and images that you can drag and drop into your design.
The central workspace is your main canvas, where you can visually arrange and style elements, seeing your changes in real time. On the right side, the Style panel offers extensive styling options, including typography, colors, spacing, and more.
Creating a Unique Style
Maintaining consistency in branding is crucial for creating a professional and cohesive website. A unified look and feel across all pages help reinforce your brand identity, making your site more recognizable and trustworthy to your audience.
Webflow’s style panel is a powerful tool for customizing your website's design elements. Start by defining your primary and secondary fonts, ensuring they align with your brand’s personality.
Use the typography settings in the style panel to adjust font size, weight, line height, and letter spacing to create a cohesive and readable text hierarchy.
Creating a style guide within Webflow is an effective way to maintain design consistency.
A style guide serves as a reference for your design system, outlining the visual elements and guidelines for using them. This can include typography rules, color palettes, button styles, form elements, and more.
Components, such as symbols in Webflow, are reusable design elements that can be used across multiple pages.
For instance, a navigation bar, footer, or call-to-action section can be created as a component and then inserted wherever needed.
This not only ensures consistency but also makes it easy to update these elements site-wide by editing the components in one place.
Hiring An Agency to Support Your Efforts
Creating a stunning website can be a complex and time-consuming task, especially if you’re striving for professional quality and functionality.
Hiring an agency can be an excellent solution for anyone who may be juggling multiple projects or lack expertise in specific areas. Here’s why and how to choose the right agency to support your efforts.
When to Consider Hiring an Agency
There are several scenarios where hiring a web design agency can be beneficial:
- Lack of Time: Managing client work and personal projects can leave little time for creating your own website. An agency can take on this task, allowing you to focus on your core activities.
- Need for Expertise: If you require advanced features, custom coding, or a highly polished design, an agency with specialized skills can deliver superior results.
- Complex Projects: For large-scale or complex projects, the collaborative effort of an agency can ensure all aspects are professionally handled, from design to development and SEO.
How to Choose the Right Agency
Selecting the right agency involves careful consideration to ensure they align with your vision and needs. Here are some tips:
- Portfolio Review: Examine the agency’s portfolio to see if their style and quality match your expectations. Look for diversity in their projects and attention to detail.
- Client Testimonials: Read reviews and testimonials from previous clients to gauge the agency’s reliability and customer satisfaction.
- Experience and Expertise: Ensure the agency has experience in your industry and possesses the necessary technical skills. Ask about their familiarity with tools like Webflow if that’s your platform of choice.
- Communication and Collaboration: Effective communication is very important. Choose an agency that listens to your needs, provides clear explanations, and involves you in the process.
- Budget and Timeline: You can discuss your budget and timeline upfront to ensure the agency can meet your requirements within your constraints.
Learn More About Why You Need a Webflow Agency.
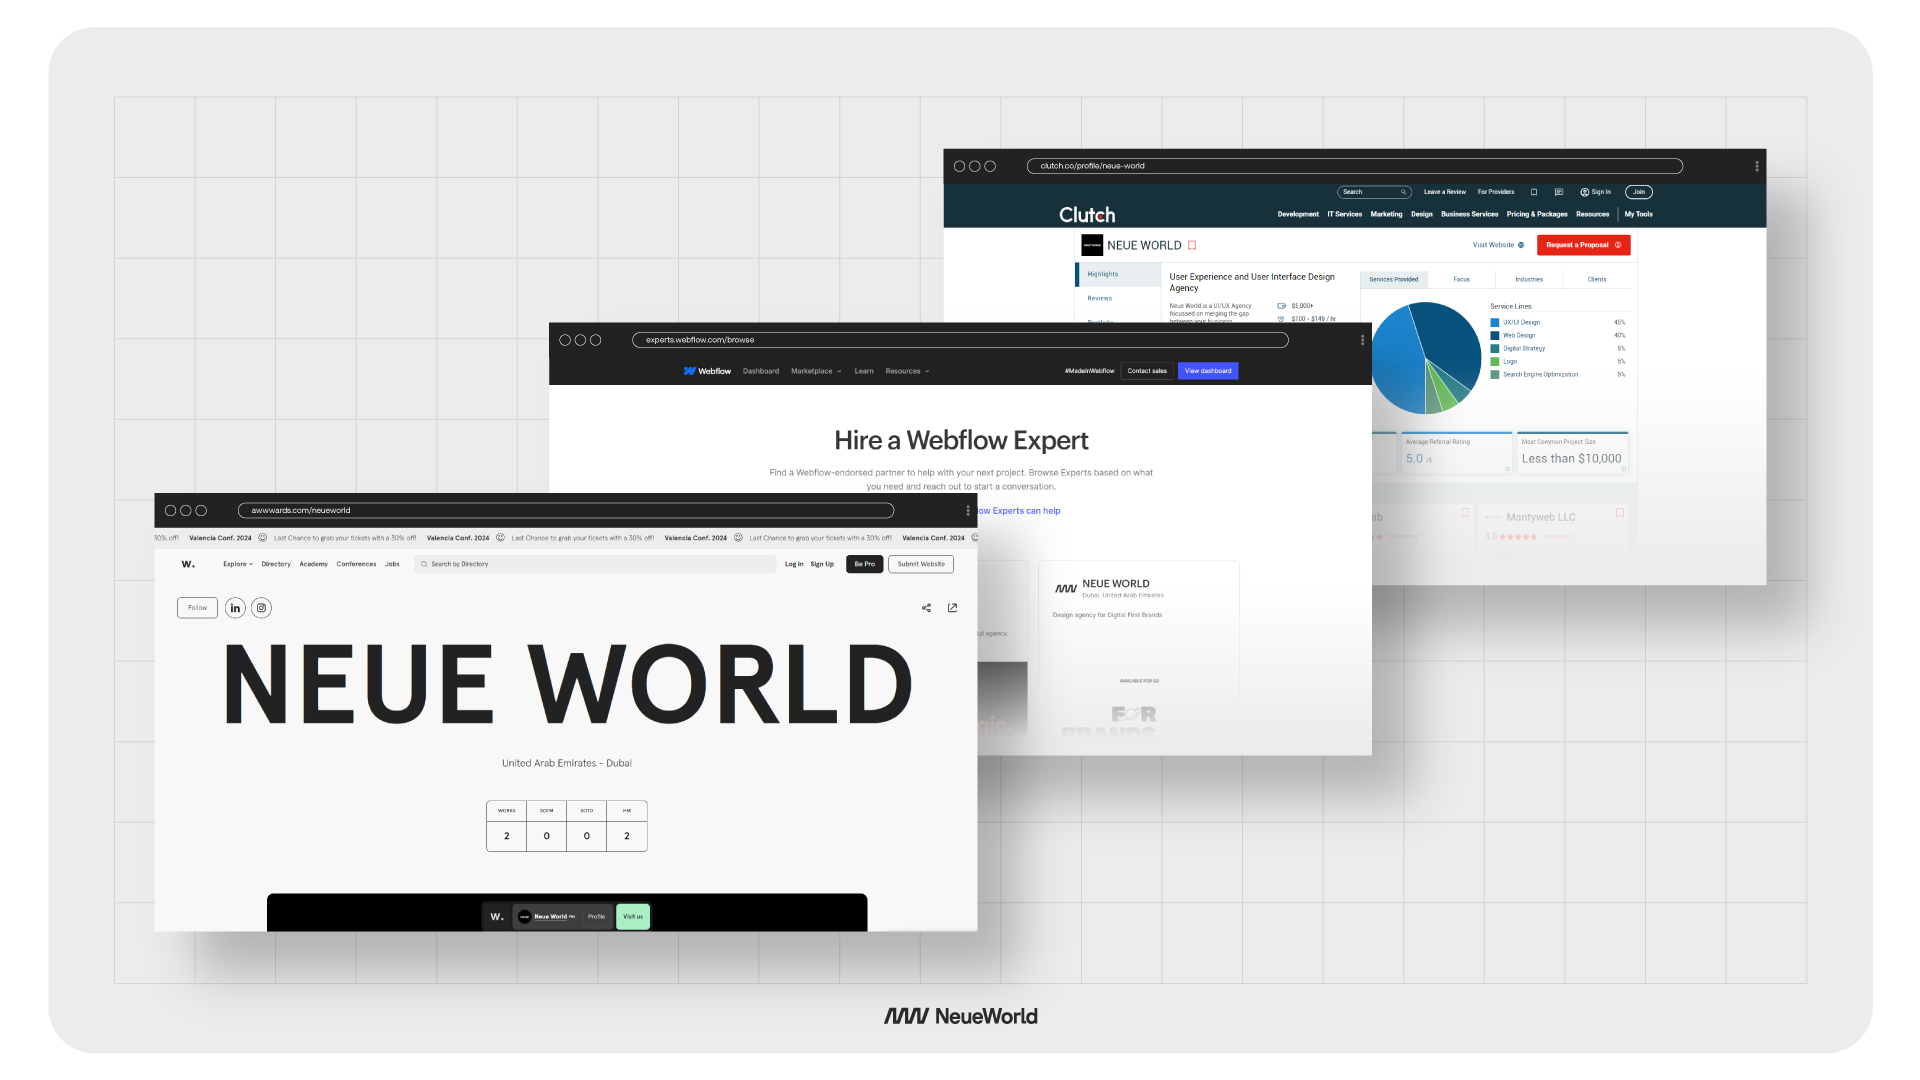
How Neue World Design Agency Creates a Website
At Neue World, we pride ourselves on delivering exceptional custom websites built on Webflow that meet our clients' needs and exceed their expectations. Here’s a detailed look at our process for creating websites, ensuring every project is handled with precision and creativity.
Discuss the Clients Needs in Detail and Scope Out What is Needed
The first step in our process is to have an in-depth discussion with the client to understand their requirements and goals. This involves:
- Understanding the Client’s Vision: We listen to the client’s ideas, preferences, and objectives for the website.
- Identifying Key Features: We outline the essential features and functionalities that the website must include.
- Defining the Scope: We establish the project’s scope, including timelines, budget, and deliverables.
Start with Moodboarding then Wireframing/Designing on FIGMA
Once we have a clear understanding of the project requirements, we begin the design phase:
- Moodboarding: We create moodboards to capture the visual style and aesthetic the client envisions. This includes color schemes, typography, and design inspirations.
- Wireframing: Using Figma, we develop wireframes to map out the website’s structure and layout. This helps in visualizing the placement of elements and overall navigation.
- Designing: With the wireframes approved, we move on to detailed designs in Figma. This stage focuses on creating high-fidelity mockups that reflect the final look of the website.
Once Designs are Approved We Move on to Developing on Webflow
After the client approves the designs, we transition to the development phase:
- Setting Up in Webflow: We set up the project in Webflow, ensuring all necessary settings and configurations are in place.
- Developing the Website: Our developers build the website according to the approved designs, ensuring it is fully responsive and optimized for performance.
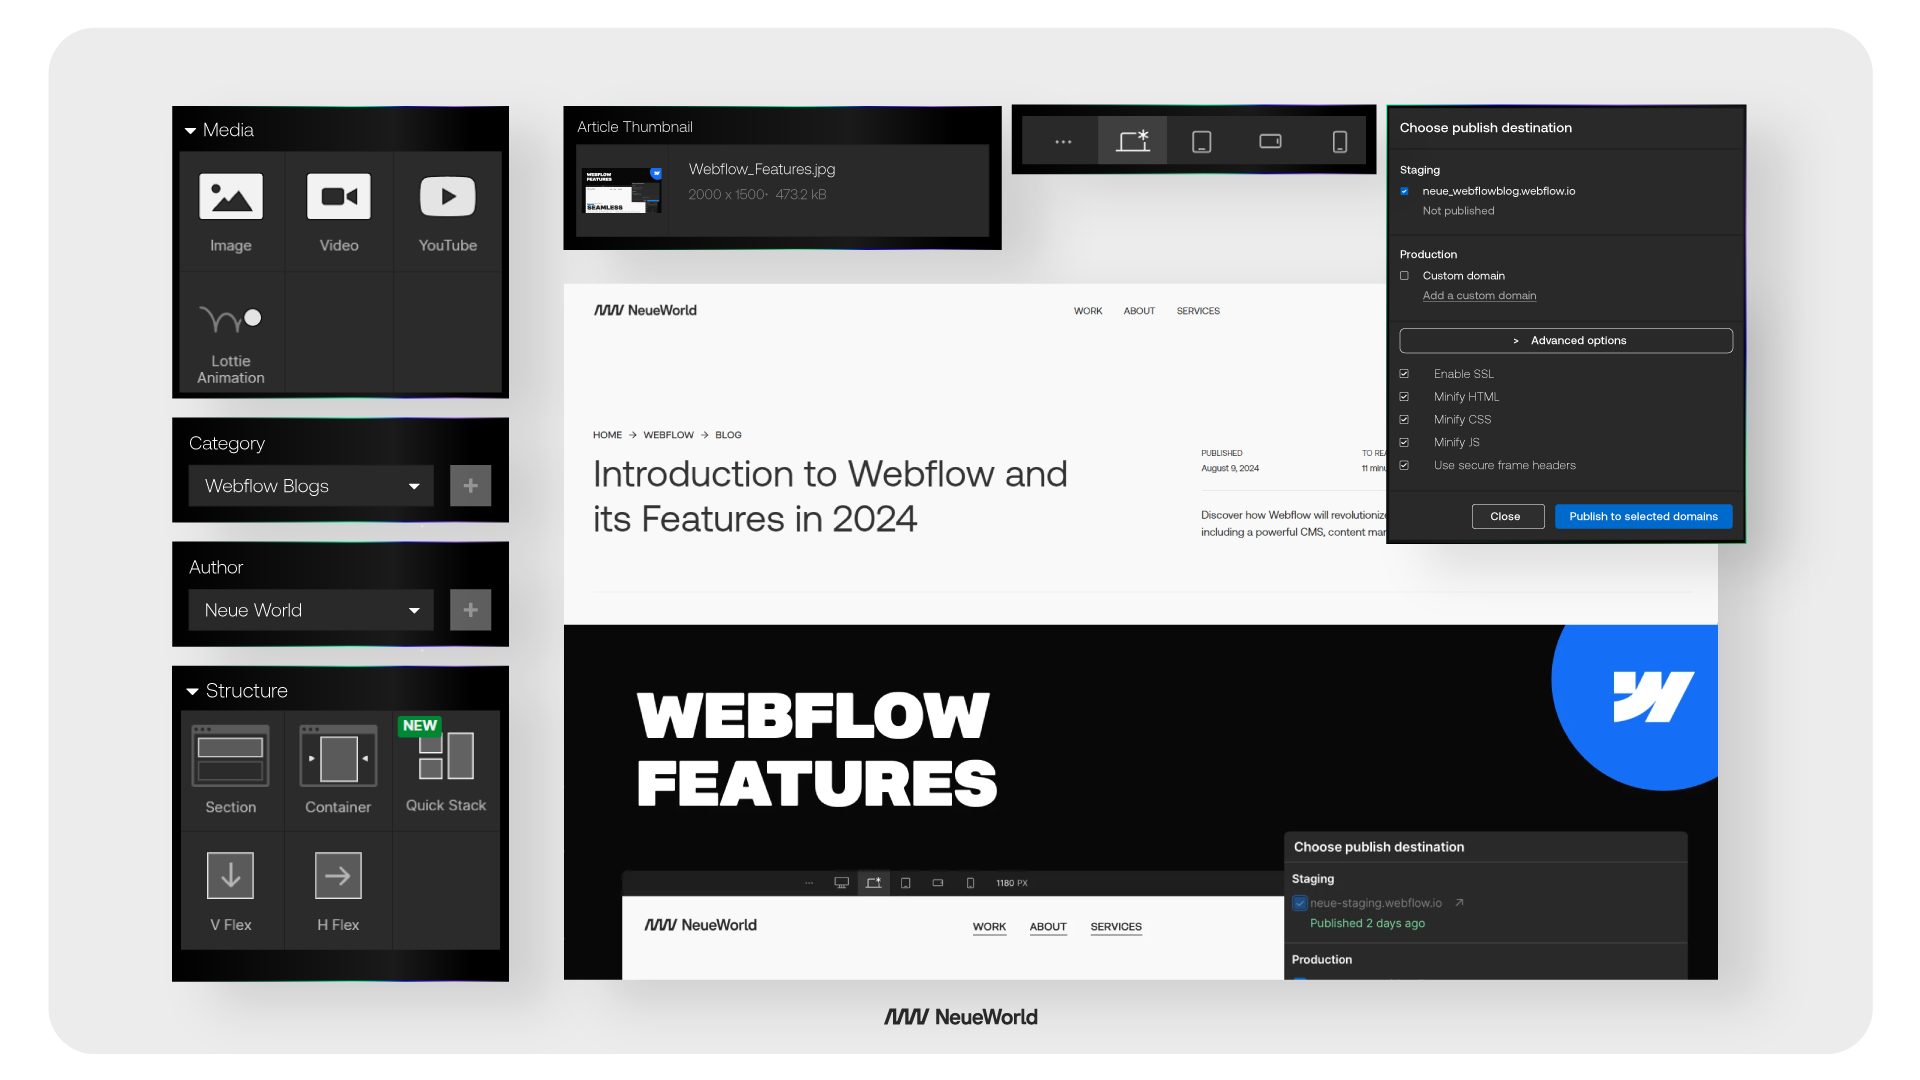
Develop ➝ Animate ➝ Connect Domain ➝ Push Live
The final steps of our process involve bringing the website to life and making it available to the public:
- Develop: We complete the development, ensuring all features and functionalities are implemented.
- Animate: Using Webflow’s interactions and animations, we add subtle animations to enhance user experience and engagement.
- Connect Domain: We configure the domain settings and ensure the website is properly connected to the client’s chosen domain.
- Push Live: After thorough testing and final reviews, we publish the website, making it live for users to access.
Our comprehensive process ensures that each website we create is not only visually stunning but also functional, user-friendly, and aligned with our clients’ goals. For more information on our services, visit Neue.World.
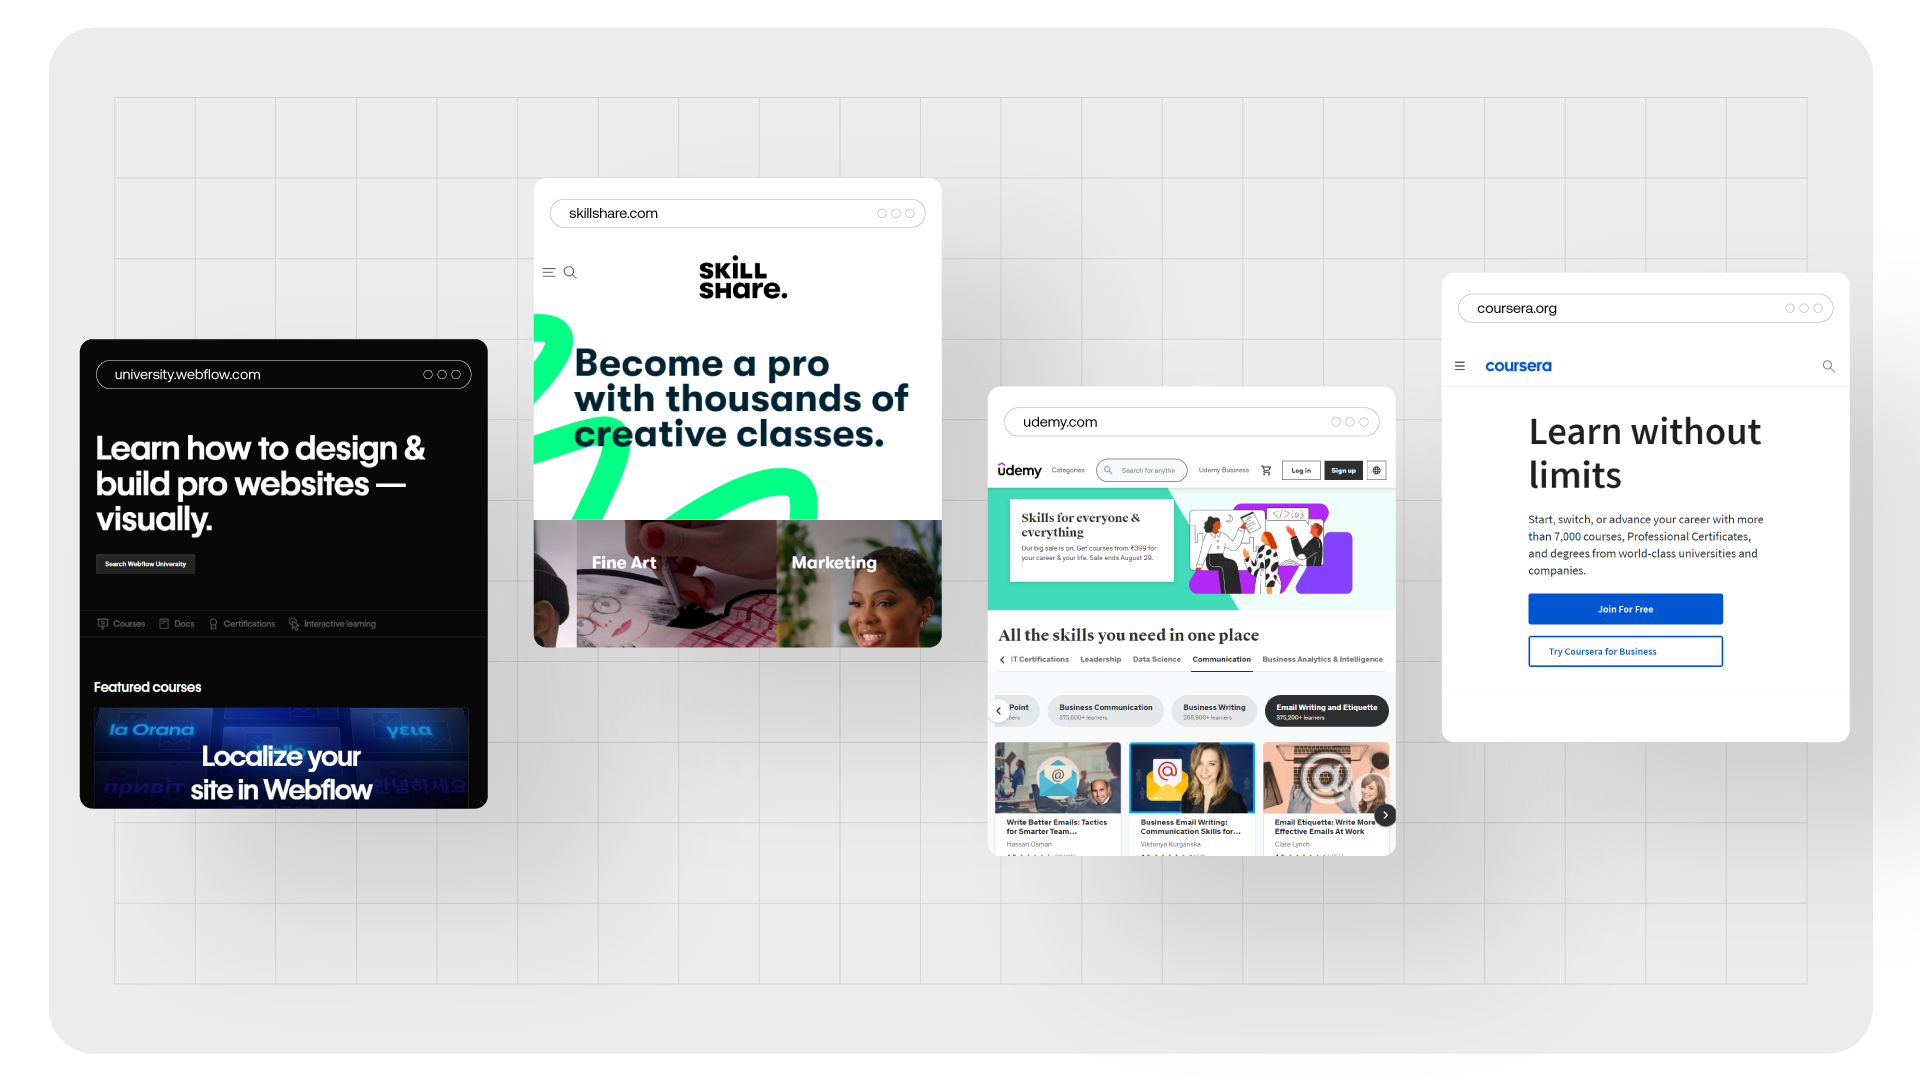
Join an Online Course to Learn in Detail
Learning Webflow can be greatly enhanced by joining online courses. Here are some highly recommended online courses that will guide you through the process of creating stunning websites with Webflow:
- Webflow University
- Course: Webflow 101 Crash Course
- Description: This free course by Webflow University provides a comprehensive introduction to Webflow. It covers the basics of the Designer, CMS, and interactions, making it perfect for beginners.
- Skillshare
- Course: Webflow for Beginners: Design a Custom Website
- Instructor: Ran Segall
- Description: This course is designed for beginners and covers everything from the basics of Webflow to building a custom website. Ran Segall is a well-known designer who provides clear and practical instructions.
- Udemy
- Course: Webflow for Beginners: Design, Build & Launch Responsive Websites
- Instructor: Joe Krug
- Description: Joe Krug’s course on Udemy is extensive and covers designing, building, and launching responsive websites with Webflow. It’s suitable for both beginners and those looking to enhance their skills.
- Coursera
- Course: Web Design for Everybody: Basics of Web Development & Coding Specialization
- Institution: University of Michigan
- Description: This specialization includes multiple courses that cover web design basics and advanced topics. While it’s not Webflow-specific, it provides foundational knowledge that is useful for Webflow users.
Final steps to take
To create a visually stunning website on Webflow, start by mastering its user-friendly interface. Familiarize yourself with Webflow's Designer interface, which offers a robust platform for building and styling your site without needing to code.
Utilize the Add panel to drag and drop elements into your design, and the Style panel to customize fonts, colors, and other design elements.
Set up a style sheet by creating a page where all classes are defined, or use global and manual classes to maintain a consistent and cohesive look across your site.
This ensures that your branding is uniform, making your website appear more professional.
This cascading approach ensures your site looks great on any device, from desktops to smartphones.
The flexibility of Webflow’s Designer ensures that you can make necessary tweaks at each screen size, ensuring a seamless and responsive user experience.
Conclusion
Webflow empowers you to bring your creative vision to life. With its intuitive interface and powerful features, you can craft websites that are not only visually captivating but also strategically designed to engage your audience and achieve your goals.
Explore Webflow's potential, and get ready to build stunning websites that leave a lasting impression. Know that creating a stunning website starts with a plan and a sprinkle of creativity and Webflow provides the tools to turn that vision into reality.
FAQs
Is Webflow good for making websites?
Yes, Webflow is an excellent platform for making websites. It offers a powerful, visual interface that allows users to design and build responsive websites without needing to write code.
Webflow combines the flexibility of custom code with the convenience of a drag-and-drop editor, making it suitable for both beginners and experienced developers.
Should I start with a Webflow template or build from scratch?
It depends on your project needs and experience level. Templates are a great option if you’re looking to save time and have a solid foundation to build upon.
On the other hand, building from scratch is ideal for custom or unique projects that require complete creative control which allows you to tailor every aspect of the design to your specific vision and requirements.
Why should I use Webflow for my website?
Webflow is an excellent choice for your website because it combines ease of use with powerful design capabilities. Its visual designer allows you to build sophisticated, responsive websites with Webflow without writing code, while still offering the flexibility to add custom code when needed.