How to add NW Auto-Update Year Tool in Webflow?
The NW Auto-Update Year Tool is a simple and efficient Webflow tool that allows users to add a condition on their website which allows for year to be updated on your website automatically every year, without any change from your end.
Step#1
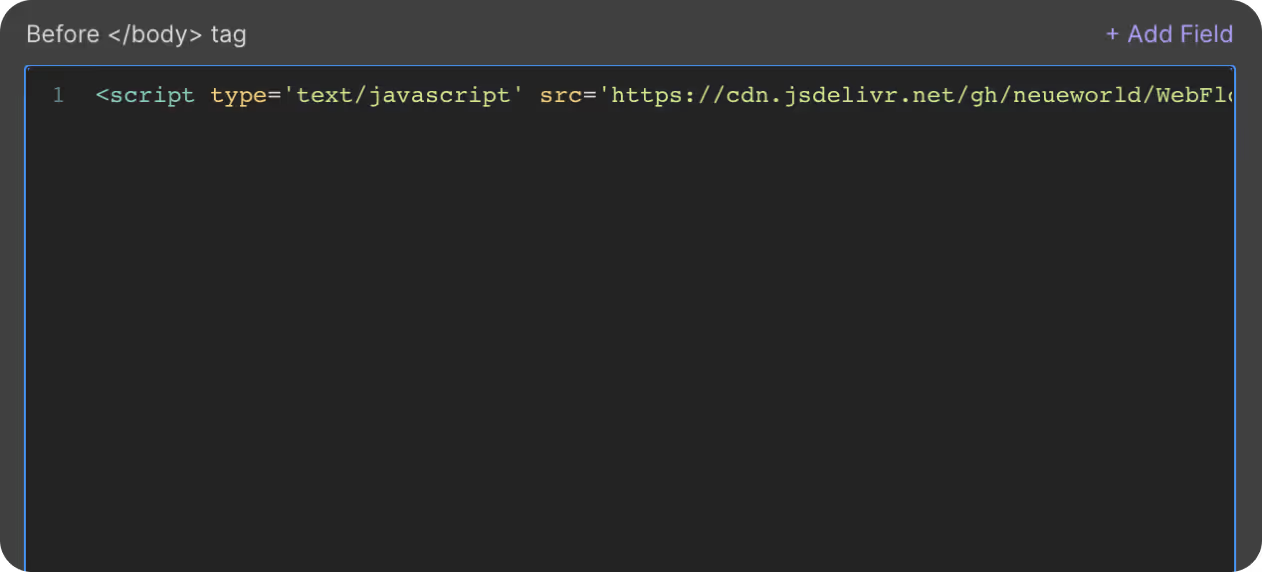
Adding the script within Page Settings on Webflow.
Integrating our Auto-Update Year tool into your website is simple! Follow these steps to get started:
- Click on "Pages" in the left navigation or press "P" on your keyboard.
- Select the settings icon beside the page you want to add the script to.
- Scroll down to the "Before </body> tag" section.
- Simply copy the script we've provided and paste it here.
NOTE: If the text element is on most of the pages, if not all, paste the script in the project setting - custom code - "Before </body> tag"

Step#2
Set Custom Attribute

To ensure your Auto-Update Year tool works seamlessly, apply custom attributes directly to your text element.
- Select the element you want to use you to display the year.
- Go to the Element Settings panel.
- Add the following custom attributes:
- Name: 'data-year'
Step#3
Publish Your Site
It's recommended to publish your site in a staging environment first to ensure the auto-update year tool works as expected. Once confirmed, publish it to your live site.
By following these steps, you'll successfully implement the Auto-Update Year Tool on your Webflow site.
Get exclusive access
By subscribing, you'll stay ahead of the curve and gain valuable insights into cutting-edge WebFlow techniques.


