How to add Form Validator feature in Webflow?
Introducing an innovative script that will make the experience of form entry on your site much better. It does so by validating the users entry and ensures they don't miss out on anything important while submitting the form by giving appropriate and immediate feedback.
NOTE: The script does not verify if the email is a real email address; it only confirms if the email follows the correct pattern abcd@email.com. Also, for phone numbers it checks whether the number of digits is between 7 and 15 since thats the minimum and maximum number of digits in a phone number across the world.
Step #1
Copy the Form Validation <script>
Integrating our Form Validation tool into your website is a breeze! Follow these easy steps to get started:
- Click on "Pages" in the left navigation or press "P" on your keyboard
- Select the settings icon beside the page you want to add the script to
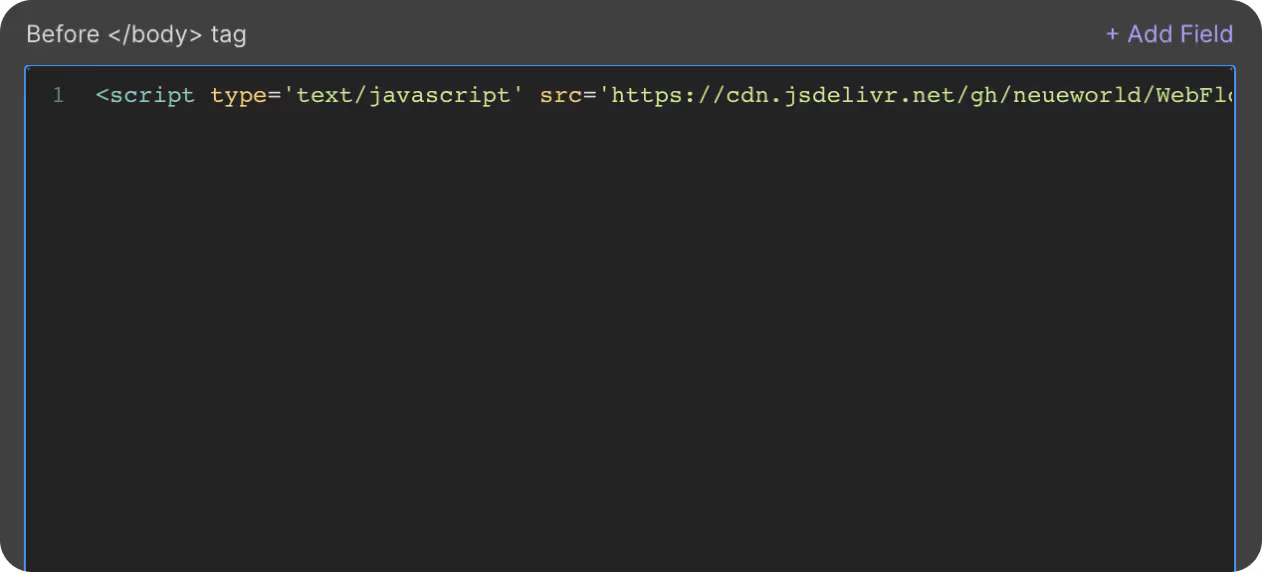
- Scroll down to the "Before </body> tag" section
- Simply copy the script we've provided and paste it here
That's it!

Step #2
Set Custom Attributes

To ensure the smooth functioning of our Form Validation tool, you will need to add custom attributes to the following form fields - email, phone number and name. Only the Name attribute field will change for each field as follows:
- Email : nw-email is added to the attribute 'name' field of the email form field
- Phone number: nw-phone is added to the attribute 'name' field of the phone form field
- Name: nw-name is added to the attribute 'name' field of the name form field
The Value attribute field should be left empty.
Step #3
Set Combo Classes

You can add combo classes to your form fields and design it the way you want. These combo classes are used to show the success and error states in real time.
- Success state: 'success' is added as a combo class to your form field
- Error state: 'error' is added as a combo class to your form field
Step #4
Publish your site
It's highly recommended to publish your site on staging environment to ensure the scrip. Once you have confirmed it, you can publish it to your primary domain.
Get exclusive access
By subscribing, you'll stay ahead of the curve and gain valuable insights into cutting-edge WebFlow techniques.


