How to add Text Highlight feature in Webflow?
Step #1
Copy the Text Highlight <script>
Integrating our Text Highlighting tool into your website is a breeze! Follow these easy steps to get started:
- Click on "Pages" in the left navigation or press "P" on your keyboard
- Select the settings icon beside the page you want to add the script to
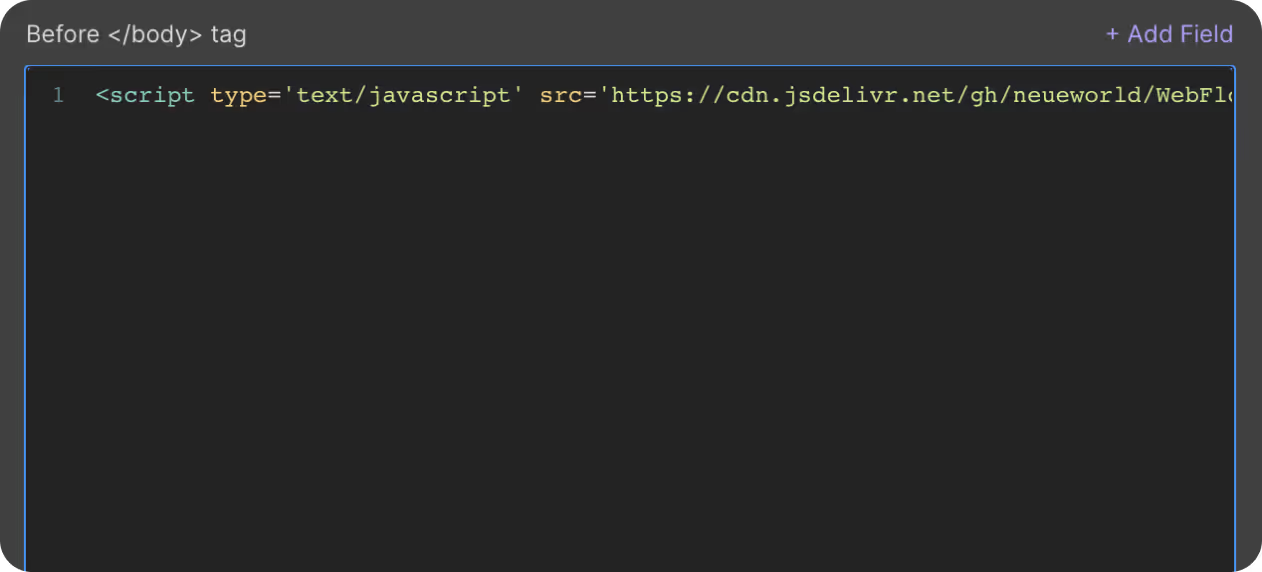
- Scroll down to the "Before </body> tag" section
- Simply copy the script we've provided and paste it here
That's it!

Step #2
Set Custom Attribute

To ensure the smooth functioning of our Text Highlighting tool, you will need to add attribute name to the following element on your page
- Attribute name : neue-highlight is added to the element whose background color and text color will serve as the background and text color for your highlighted text.
The Value attribute field should be left empty. You can hide this element from the page. Do not delete it.
Step #3
Publish your site
It's highly recommended to publish your site on staging environment to ensure the scrip. Once you have confirmed it, you can publish it to your primary domain.
Get exclusive access
By subscribing, you'll stay ahead of the curve and gain valuable insights into cutting-edge WebFlow techniques.


